As I near my mid-life (hopefully not for a while) crisis, I decided to convert a gas motorcycle over to electric. I always wanted a sleek motorcycle, but always was too mentally practical to allow myself the luxury of a bike. I had ridden my cousins' dirt bikes as a kid, and rode on the back seat of other's bikes, but that was the extent of my riding history.
I also may work with computers and techy type stuff, but never have had any training on circuitry, wiring, voltages or anything that would really help me with this project. I have always loved tinkering, but honestly never got any formal training on anything that would identify why this widget ran this doo-hickey.
So with my usual zeal and ADHD-ness I jumped right into it. To start I needed a bike to build from. I liked my college roommate's Honda Interceptor that I helped fix the ignition pins on back in 1993-94ish time frame, so decided to try and find one. However 25+ year old bikes are not flooding the market, so I had to go with what was available.
THE CORPSE
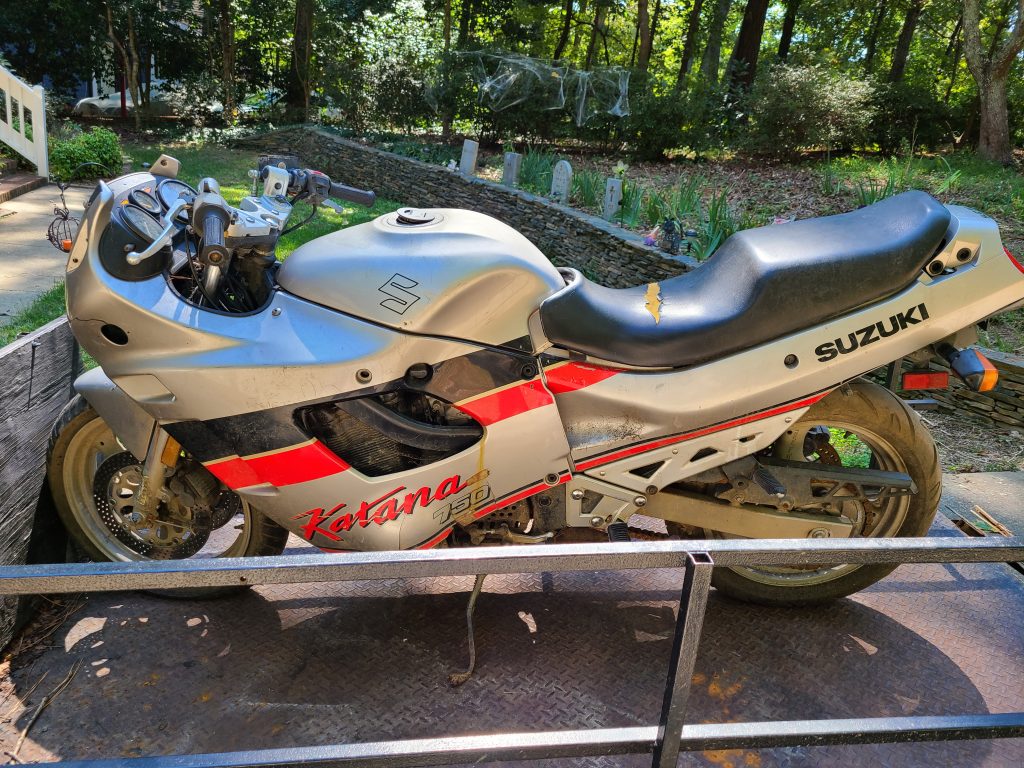
Enter the 1988 Suzuki Katana. What a beauty.
Because of my amazing negotiating skills, I was able to get them to throw in the pine straw stuck on the bike for free!
300 dollars and a lot of dragging, shoving, swearing and sweat later the kids and I, along with the seller, and his friend got it lugged onto my trailer. The rear brakes had locked solid on the rear tire and wouldn't release until I opened the brake line and smacked it with a hammer.
So, once I got it home the first thing I had to do was take it all apart. And of course lose as many bolts and nuts as possible in the process.
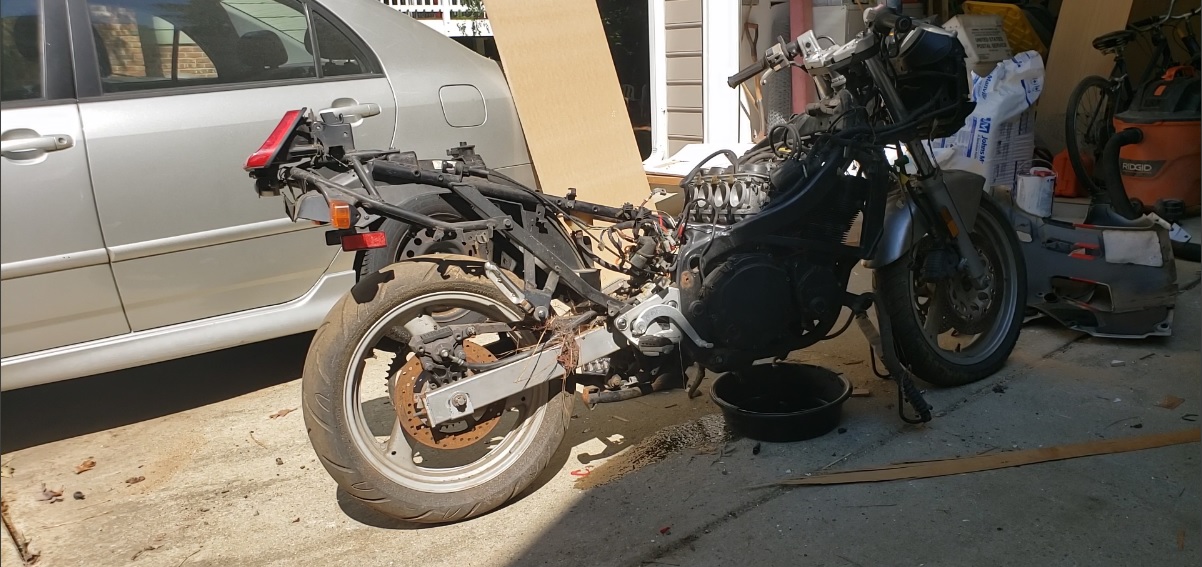
You can see I kept the pine straw in the back for fragrance.
Taking apart things you have never done before is very dirty and very very tiring.
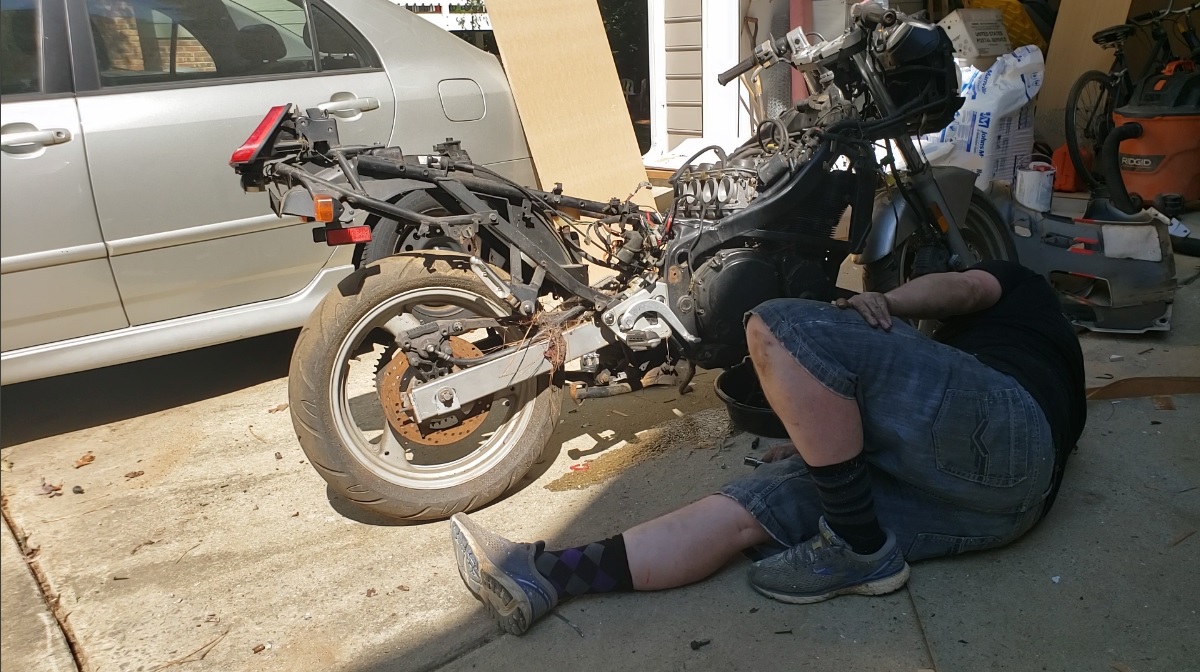
You can almost hear the old man groan to stand up from here.
Once I got it stripped down to my liking it was time to stare and ponder what I was going to do next.
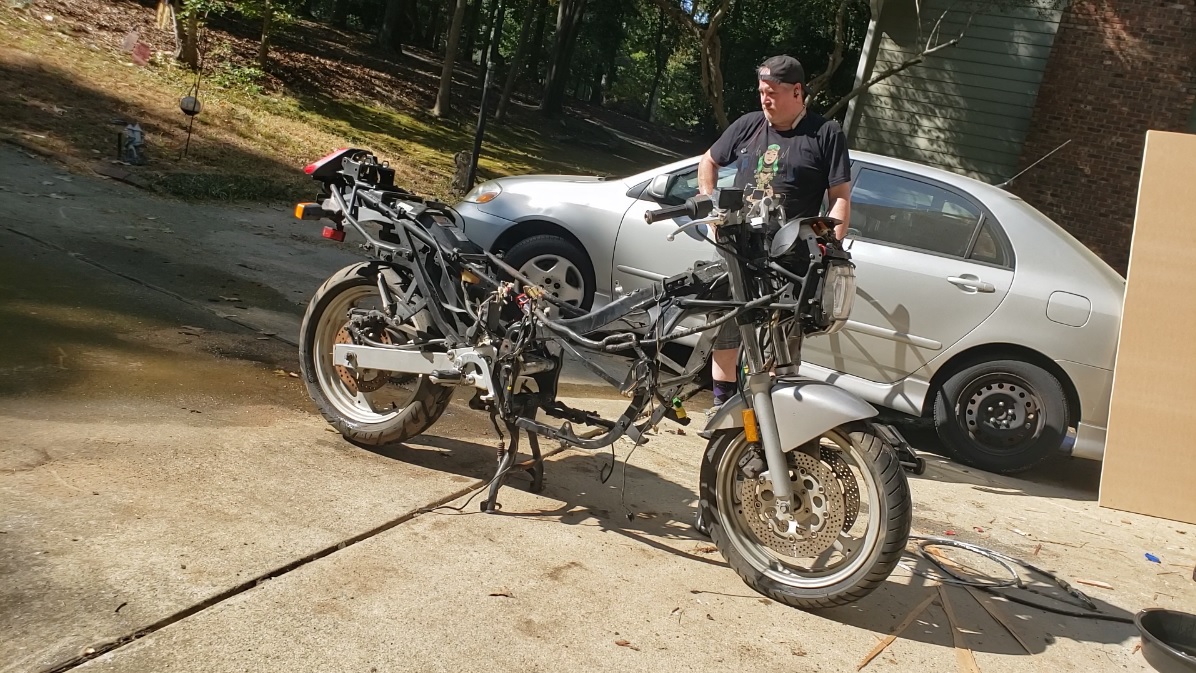
I stood like this for a good 10 minutes on my video I shot.
So it was time to clean it up. Electric pressure washer and a lot of soap and water later.
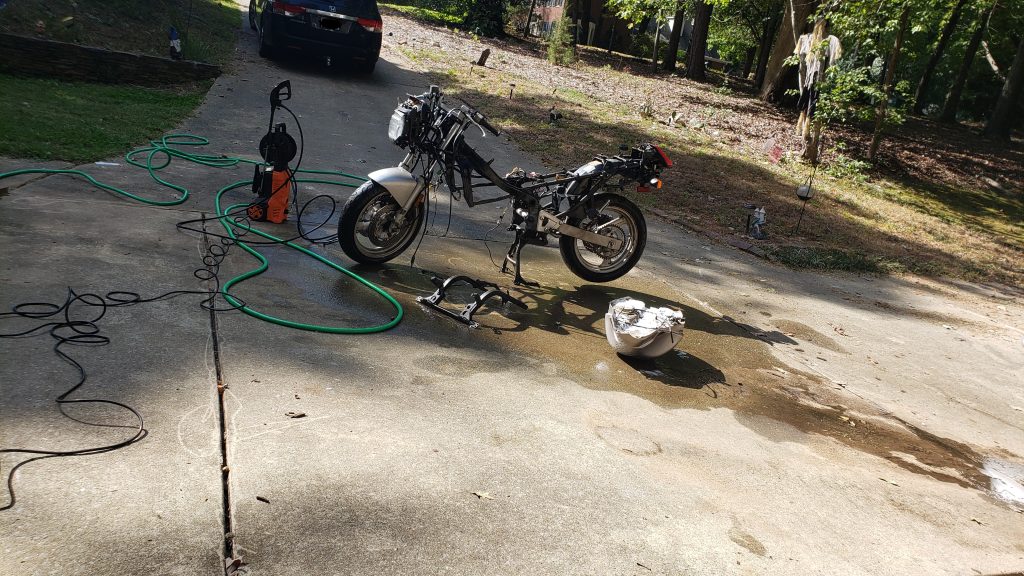
Bye pine straw.
I LIKE TO MOVE IT
So at the time I decided to go with a hub motor for the design. This would limit the amount of retrofit and space loss I would get if I went with a traditional chain driven motor. I would lose some of the possible power, but that wasn't a big deal for me, as I am going at this as an old first time rider.
QSMotor is highly recommended, so I went with this one.
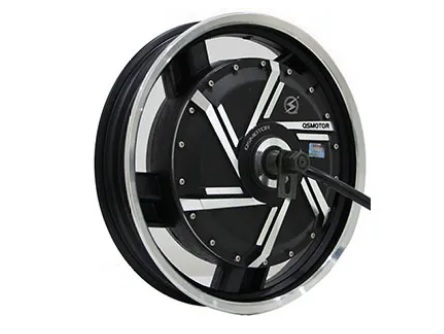
17 inch - 8000 Watt motor torquing goodness
So this motor is rated up to 120 Volts DC. Their high recommended though was 96 Volts. I decided 84 was good for me because see many earlier posts about age and skill level.
I was able to get a package deal with them that included a speed controller, the hub motor, and a throttle. I ended up going back to them later for a dash display and a rear brake as I couldn't find any others that I liked. I should have gotten them all at once but I was cheap at the time.
When it came to the motor, this was the one piece that I definitely wanted to get as new. I wanted peak efficiency and something that would have the most life on it. Since I purchased mine they now have 12000 watt models as well for even more power.
Here is a very very important tip for you if you are doing this project yourself. Always make sure you have the axle, and the axle spin lock connected and solid before you ever think of putting power to your motor. I was wiring up the wheel and the wiring for the throttle had a short to ground. When I plugged it in, the motor activated, spinning the control wires around the axle, stripping the controller from it's mount point and straining the wires to the point of breaking connections to the magnetic sensors.
![]()
Yup, that's busted. So off to find parts on the interwebs and rebuild them.
Luckily, QSMotor was very helpful and provided the info on the exact part that I needed to repair it. And after many attempts at putting it together, taking it apart, and putting it back together again I got it back up and running. Yay!
MOAR POWER
So for the batteries, I wanted to go used. I don't need to have super amazing cells as I could just end up wrecking this thing on my first ride anyways. Also the cells can be replaced, and by using used cells that have 90% usability will be perfect for my needs, and keeps cells out of landfills. I decided to go with 2 types of cells in the bike to test which would give the best power and range.

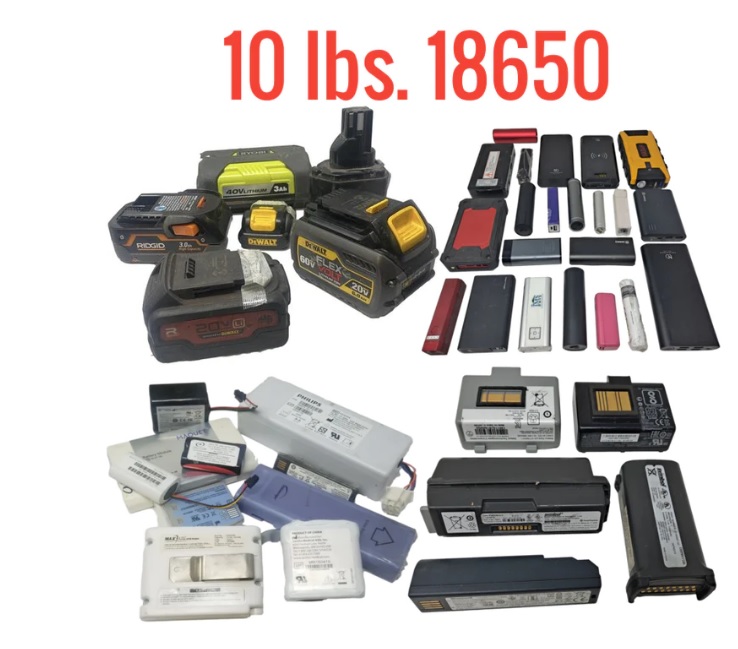
The original battery cage was designed to hold 21 spim08hp cells, and hundreds of 18650 recycled cells. However while testing, the 18650 cells couldn't keep up with the power draw, and let all the magic blue smoke out.
![]()
Well that's no good.
The SPIM batteries have a HUGE amp pull, so I decided those would be my power source. I had to rebuild the battery cages for a 21s2p spim08hp set. I should have done this from the beginning as these can handle far more amps and are easy to configure into a mountable array. The surviving 18650 cells are being used for other electrical projects I am messing up.
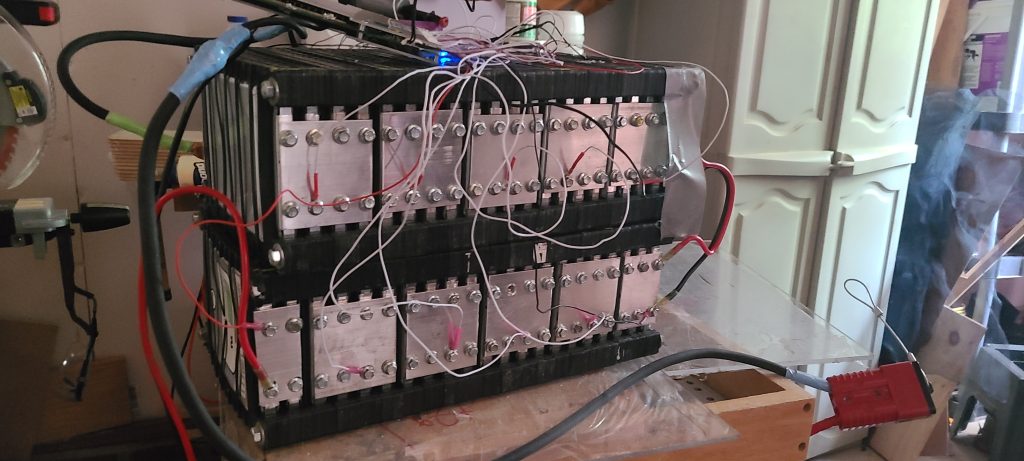
Here they are wired on my workbench to the BMS to guarantee proper juice.
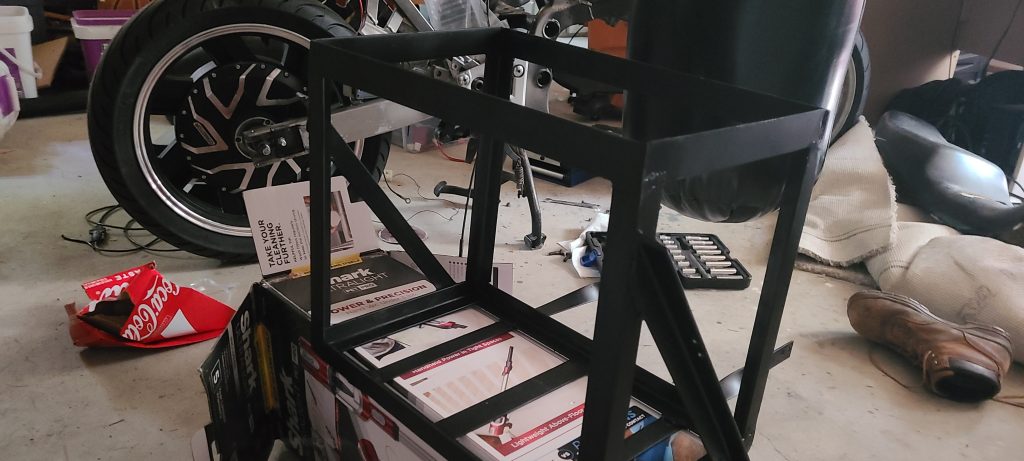
And this is the "fish tank" I built to hold them. It was lined with plexiglass and then mounted where the engine originally was to keep the weight distribution good. Work boot and metric crushed coke box for scale.
MAKE IT PRETTY
So now that all the components have been put into place, it was time to start making it look good and usable. One of the biggest questions I got was how was I going to be more noticeable while driving this. Since it is so quiet people were concerned that I might get run over. So what better way to be noticeable than to make it bright. I was going with a particular theme with the look of the bike, so bright purple lights were exactly what I needed.
However, I didn't want to pull more juice from the drive pack just for lights. That way I could make it still noticeable if I ran out of juice on the road. And I just so happened to have a bunch of 18650 cells that would be perfect for the job.
![]()
3 18650 cells in series then paralleled into a buck convertor to smooth out that voltage to 12 volts
Water proof box with an on/off toggle
Cells can be exchanged with freshly charged cells external to the cycle
I thought the bike looked good without the shells, but my kids said it looked too Mad Max. The downside was the shells were pretty beat up. Broken and the paint and stickers were horrible. Did some paint stripping, sanding and got real high on some fiberglass repair and Bondo.
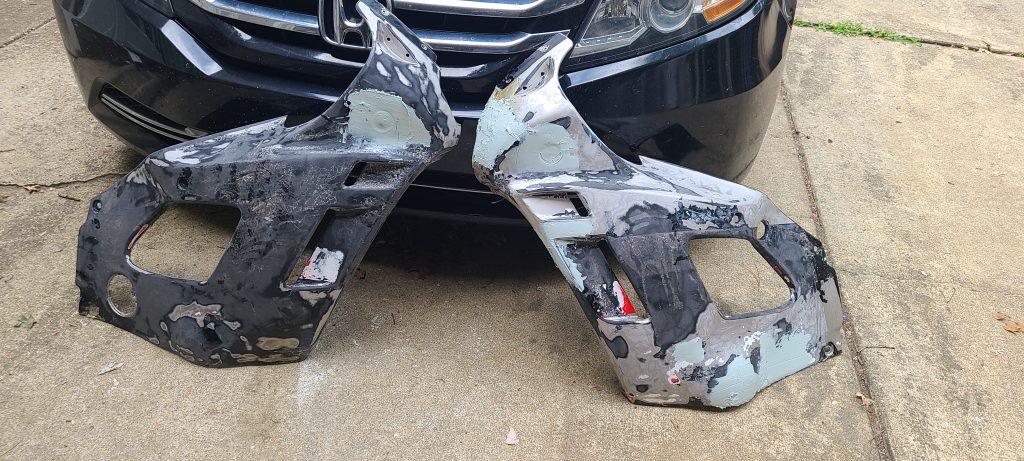
Lots and lots of filler.
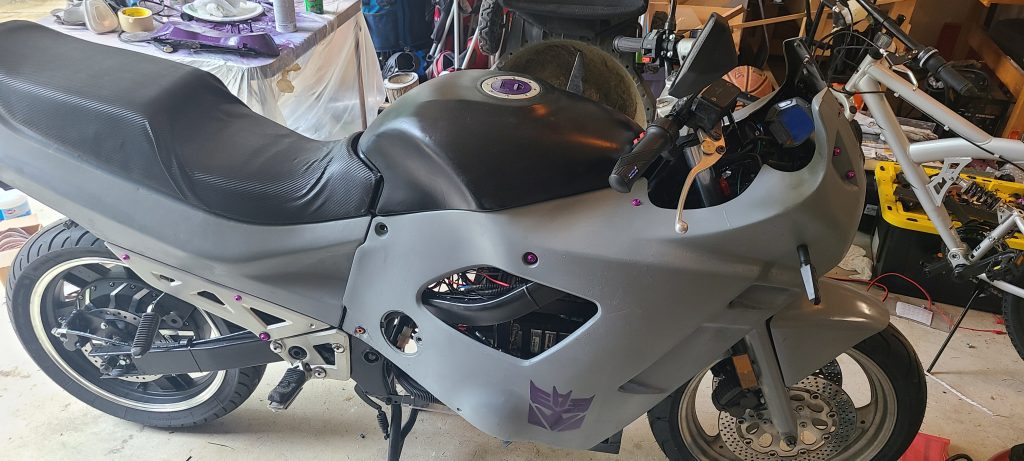
For painting I went with a Battleship Grey color, with purple for the highlights on the bolts and above mentioned lights. I had to redo the seat as it was split and aged, so I picked up some carbon fiber looking vinyl to re-cover it.
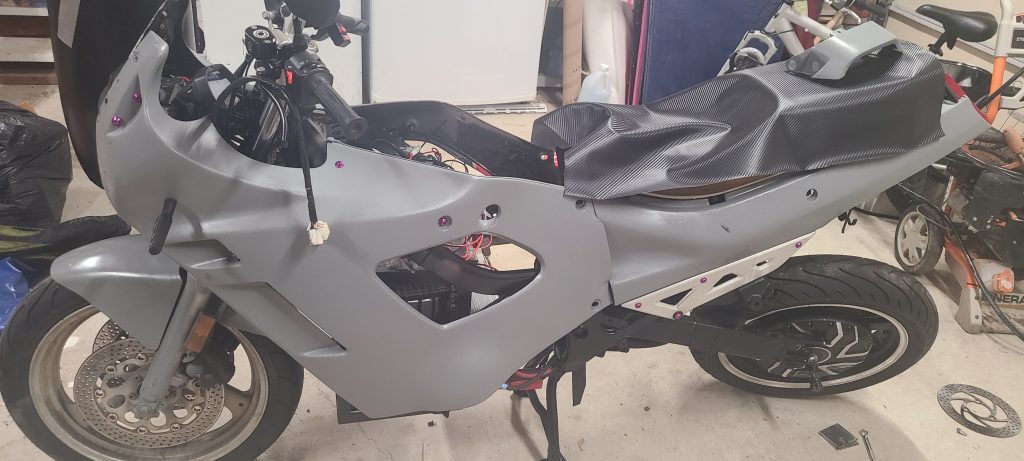
I am glad I listened to my kids. Looks much more better with the shells rebuilt on it.
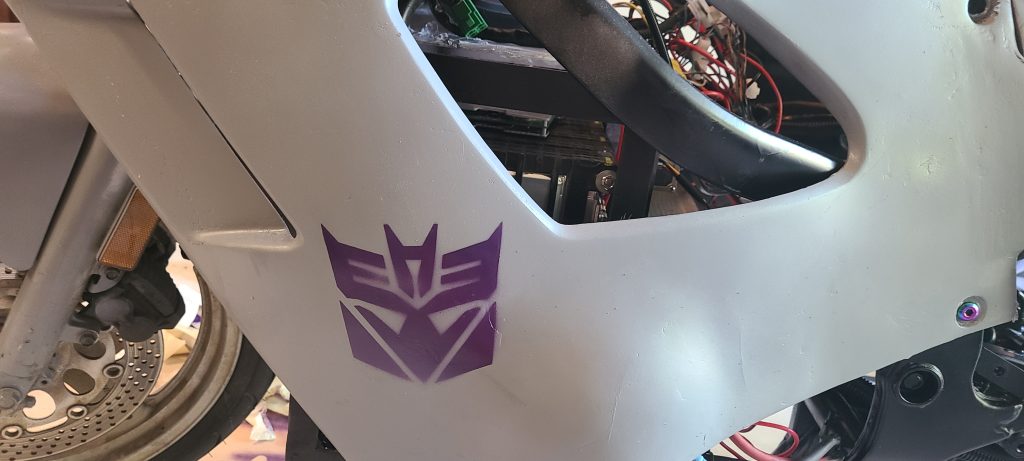
To get it closer to the theme I was going for I picked up some stencils and decals that matched my ideas.
![]()
More than meets the eye
Gas Tank Replacement
So I had previously removed the bottom of the old gas tank and patched up the large rust hole on it. Yay Bondo. I then put it on a shelf as I was thinking I wanted to do something more visible to show the lack of petrol on this build. However when I got down to it I realized I did not have the tooling nor skill to fabricate something better.
So I pulled it back off the shelf, and painted it up. I took apart the locking gas cap and re-painted that as well. I plan on bringing the light control switch up to the tank, and will install the charger under the tank with enough space for cooling/venting. Opening the gas tank will have the outlet cable to plug it into the wall.
I like the purple and silver of the gas cover. Still need to put a hard plug under it instead of just pulling out a cable.

So I re-painted the tank with a high gloss coat. I also fiberglassed over the old dash and mounted the digital dash to it. Windscreen came in, so it is attached now as well.